Ça y est, vous avez franchi le cap : votre nouvelle plante est chez vous ! Et maintenant, que faire ?
Le rempotage (transfert de la plante dans un pot légèrement plus grand) et le repiquage (changement de pot sans modifier la taille) sont deux gestes importants dans la vie d’une plante. Ils doivent être réalisés régulièrement. Voici les raisons les plus courantes qui justifient cette étape :


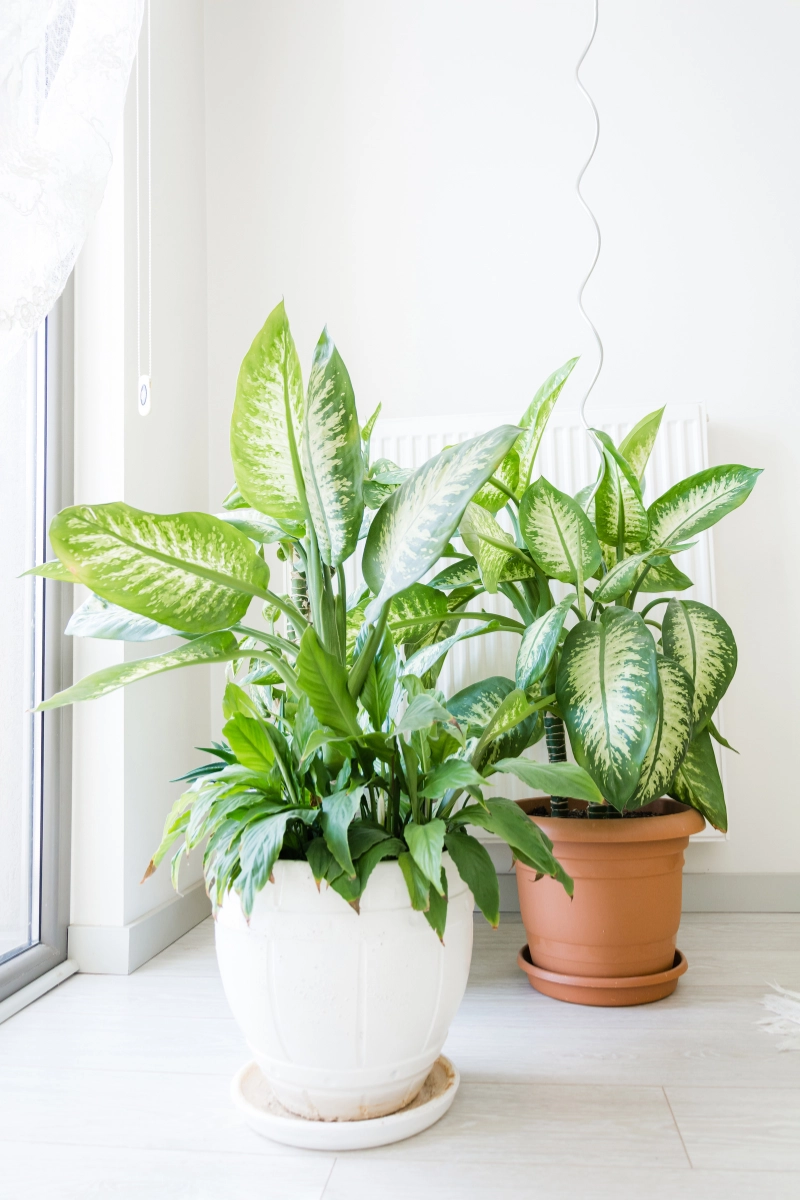
L’arrosage est souvent l’un des points les plus délicats à maîtriser. Même en suivant les recommandations pour votre plante, vous devrez adapter votre routine à votre environnement… et à la saison !
Ce qui fonctionne chez votre voisin ne fonctionnera pas forcément chez vous. Mon meilleur conseil ? Allez-y progressivement. Observez attentivement les réactions de votre plante, et restez prudent(e). Des feuilles molles peuvent indiquer aussi bien un manque d’eau… qu’un excès !
Alors, comment s’y retrouver ? Commencez par identifier l’origine de votre plante :


Quelle que soit la méthode choisie, laissez toujours la plante s’égoutter avant de la remettre dans son cache-pot ou sur sa soucoupe.
Et surtout, ne négligez pas le drainage : il se fait en deux étapes. D’abord, placez une couche drainante au fond du pot. Ensuite, utilisez un pot percé, avec au moins un trou au fond.
Et pour l’eau ? L’idéal reste l’eau de pluie. Les plantes n’aiment pas le calcaire ni le chlore de l’eau du robinet. Privilégiez aussi une eau à température ambiante, voire tiède selon les espèces.
Comme pour l’arrosage, les besoins en lumière et en température dépendent fortement de l’origine de la plante :
Méfiez-vous des indications « plein soleil », « mi-ombre » ou « ombre ». Elles sont souvent floues et, d’après mon expérience, rarement fiables. L’intensité lumineuse n’a rien à voir entre un intérieur et un extérieur.
Enfin, évitez d’exposer directement au soleil une plante qui sort de serre. C’est le meilleur moyen de brûler son feuillage. Les UV sont aussi agressifs pour les plantes que pour nous. Habituez-les progressivement, même si elles sont censées supporter le plein soleil en été.


Théoriquement, si l’arrosage, l’emplacement et le substrat sont bien adaptés, il n’est pas nécessaire d’ajouter d’engrais. Mais cela reste… théorique !
Dans la pratique, certaines plantes — surtout celles qui fleurissent — auront besoin d’un petit coup de pouce pour rester en forme. Un apport minéral ou organique peut alors faire la différence.
De mon côté, je gère les apports au cas par cas, selon l’état de santé de chaque plante. Et surtout, je n’utilise jamais d’engrais dans le seul but de faire pousser plus vite. Le but, c’est l’équilibre, pas la performance !
Accueillir une nouvelle plante chez soi, c’est le début d’une belle aventure. Tout commence dès que vous l’installez à sa place.
En suivant ces étapes simples – observation, rempotage, arrosage adapté, bonne gestion de la lumière et de la température, et apports si besoin – vous lui offrez les meilleures conditions pour s’épanouir.
Chaque plante est unique. Ce sont votre attention et vos soins qui feront toute la différence. Prenez le temps de bien comprendre ses besoins spécifiques : elle vous le rendra par sa vitalité et sa beauté.
Bonne culture !
Pour offrir les meilleures expériences, nous utilisons des technologies telles que les cookies pour stocker et/ou accéder aux informations des appareils. Le fait de consentir à ces technologies nous permettra de traiter des données telles que le comportement de navigation ou les ID uniques sur ce site. Le fait de ne pas consentir ou de retirer son consentement peut avoir un effet négatif sur certaines caractéristiques et fonctions.